I have been fiddling with remote sockets for a couple of years now, especially Nexa branded ones. Yesterday, for the first time, I believe the relay has broken in one of the oldest ones -> Teardown time!
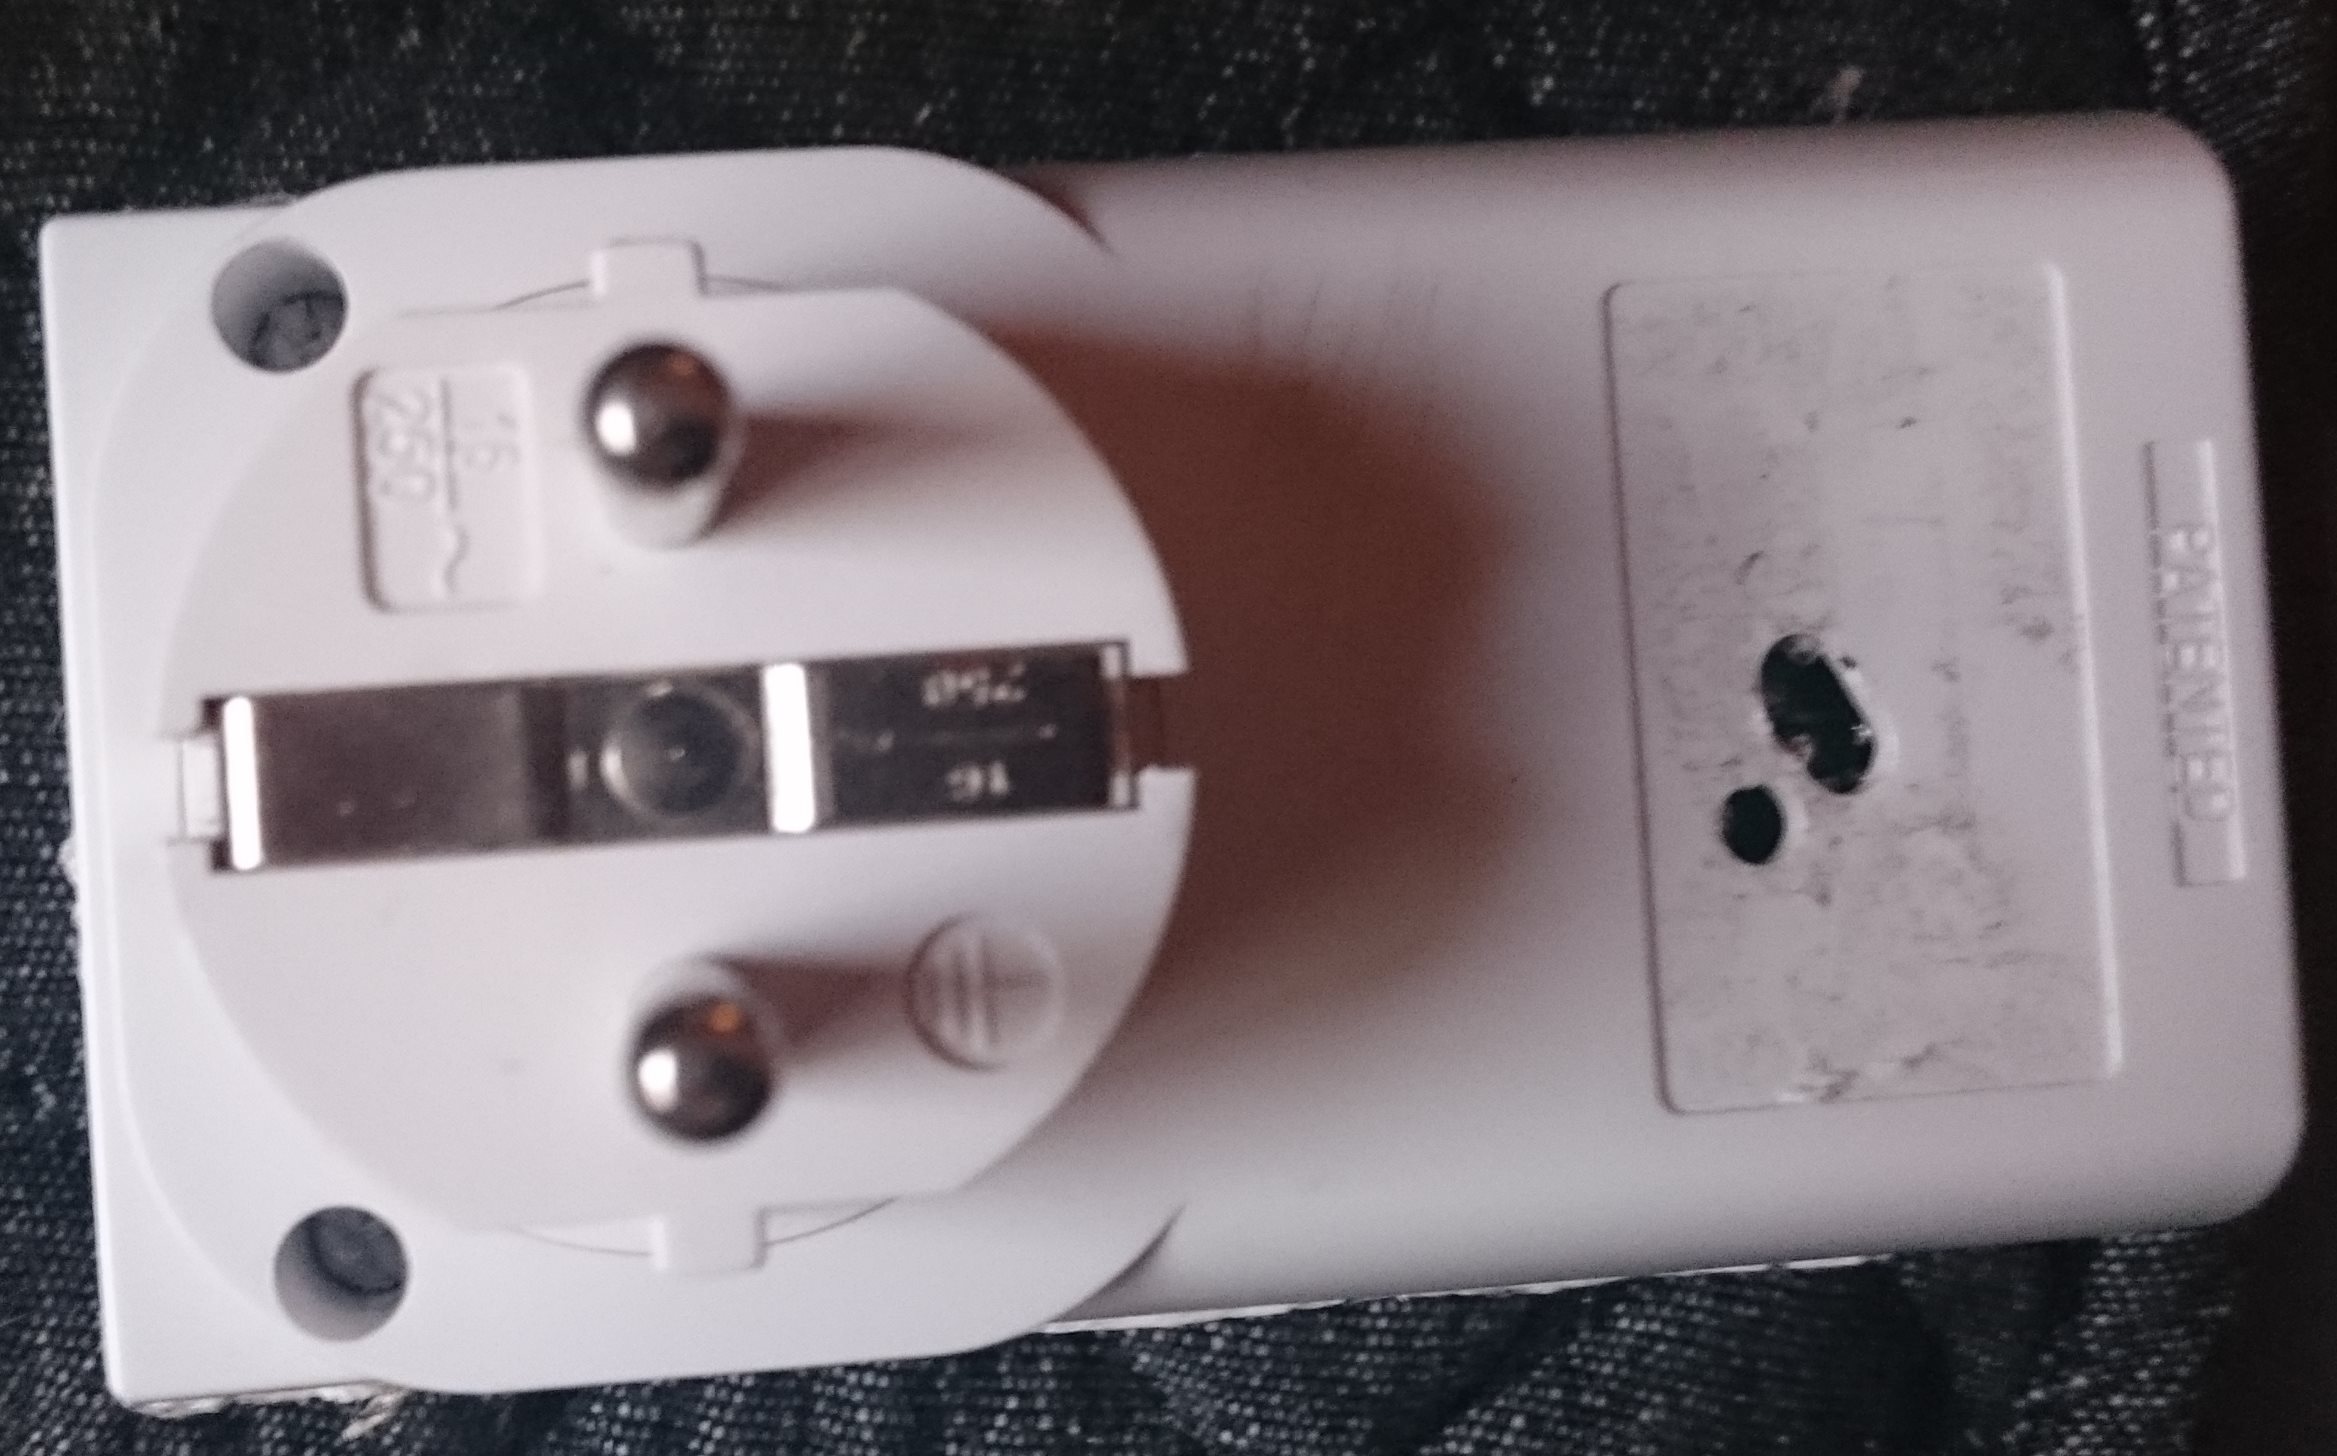
There are some kind of screws that I have never seen before holding the thing together. I tried to heat a pen to make a plastic “quick fix” screwdriver, but the screws were too tight and the “quick fix” screwdriver was not capable of delivering the required torque.
I used a utility knife, heated glowing hot with a blowtorch, to cut the enclosure. The result wasn’t pretty but it got the job done.
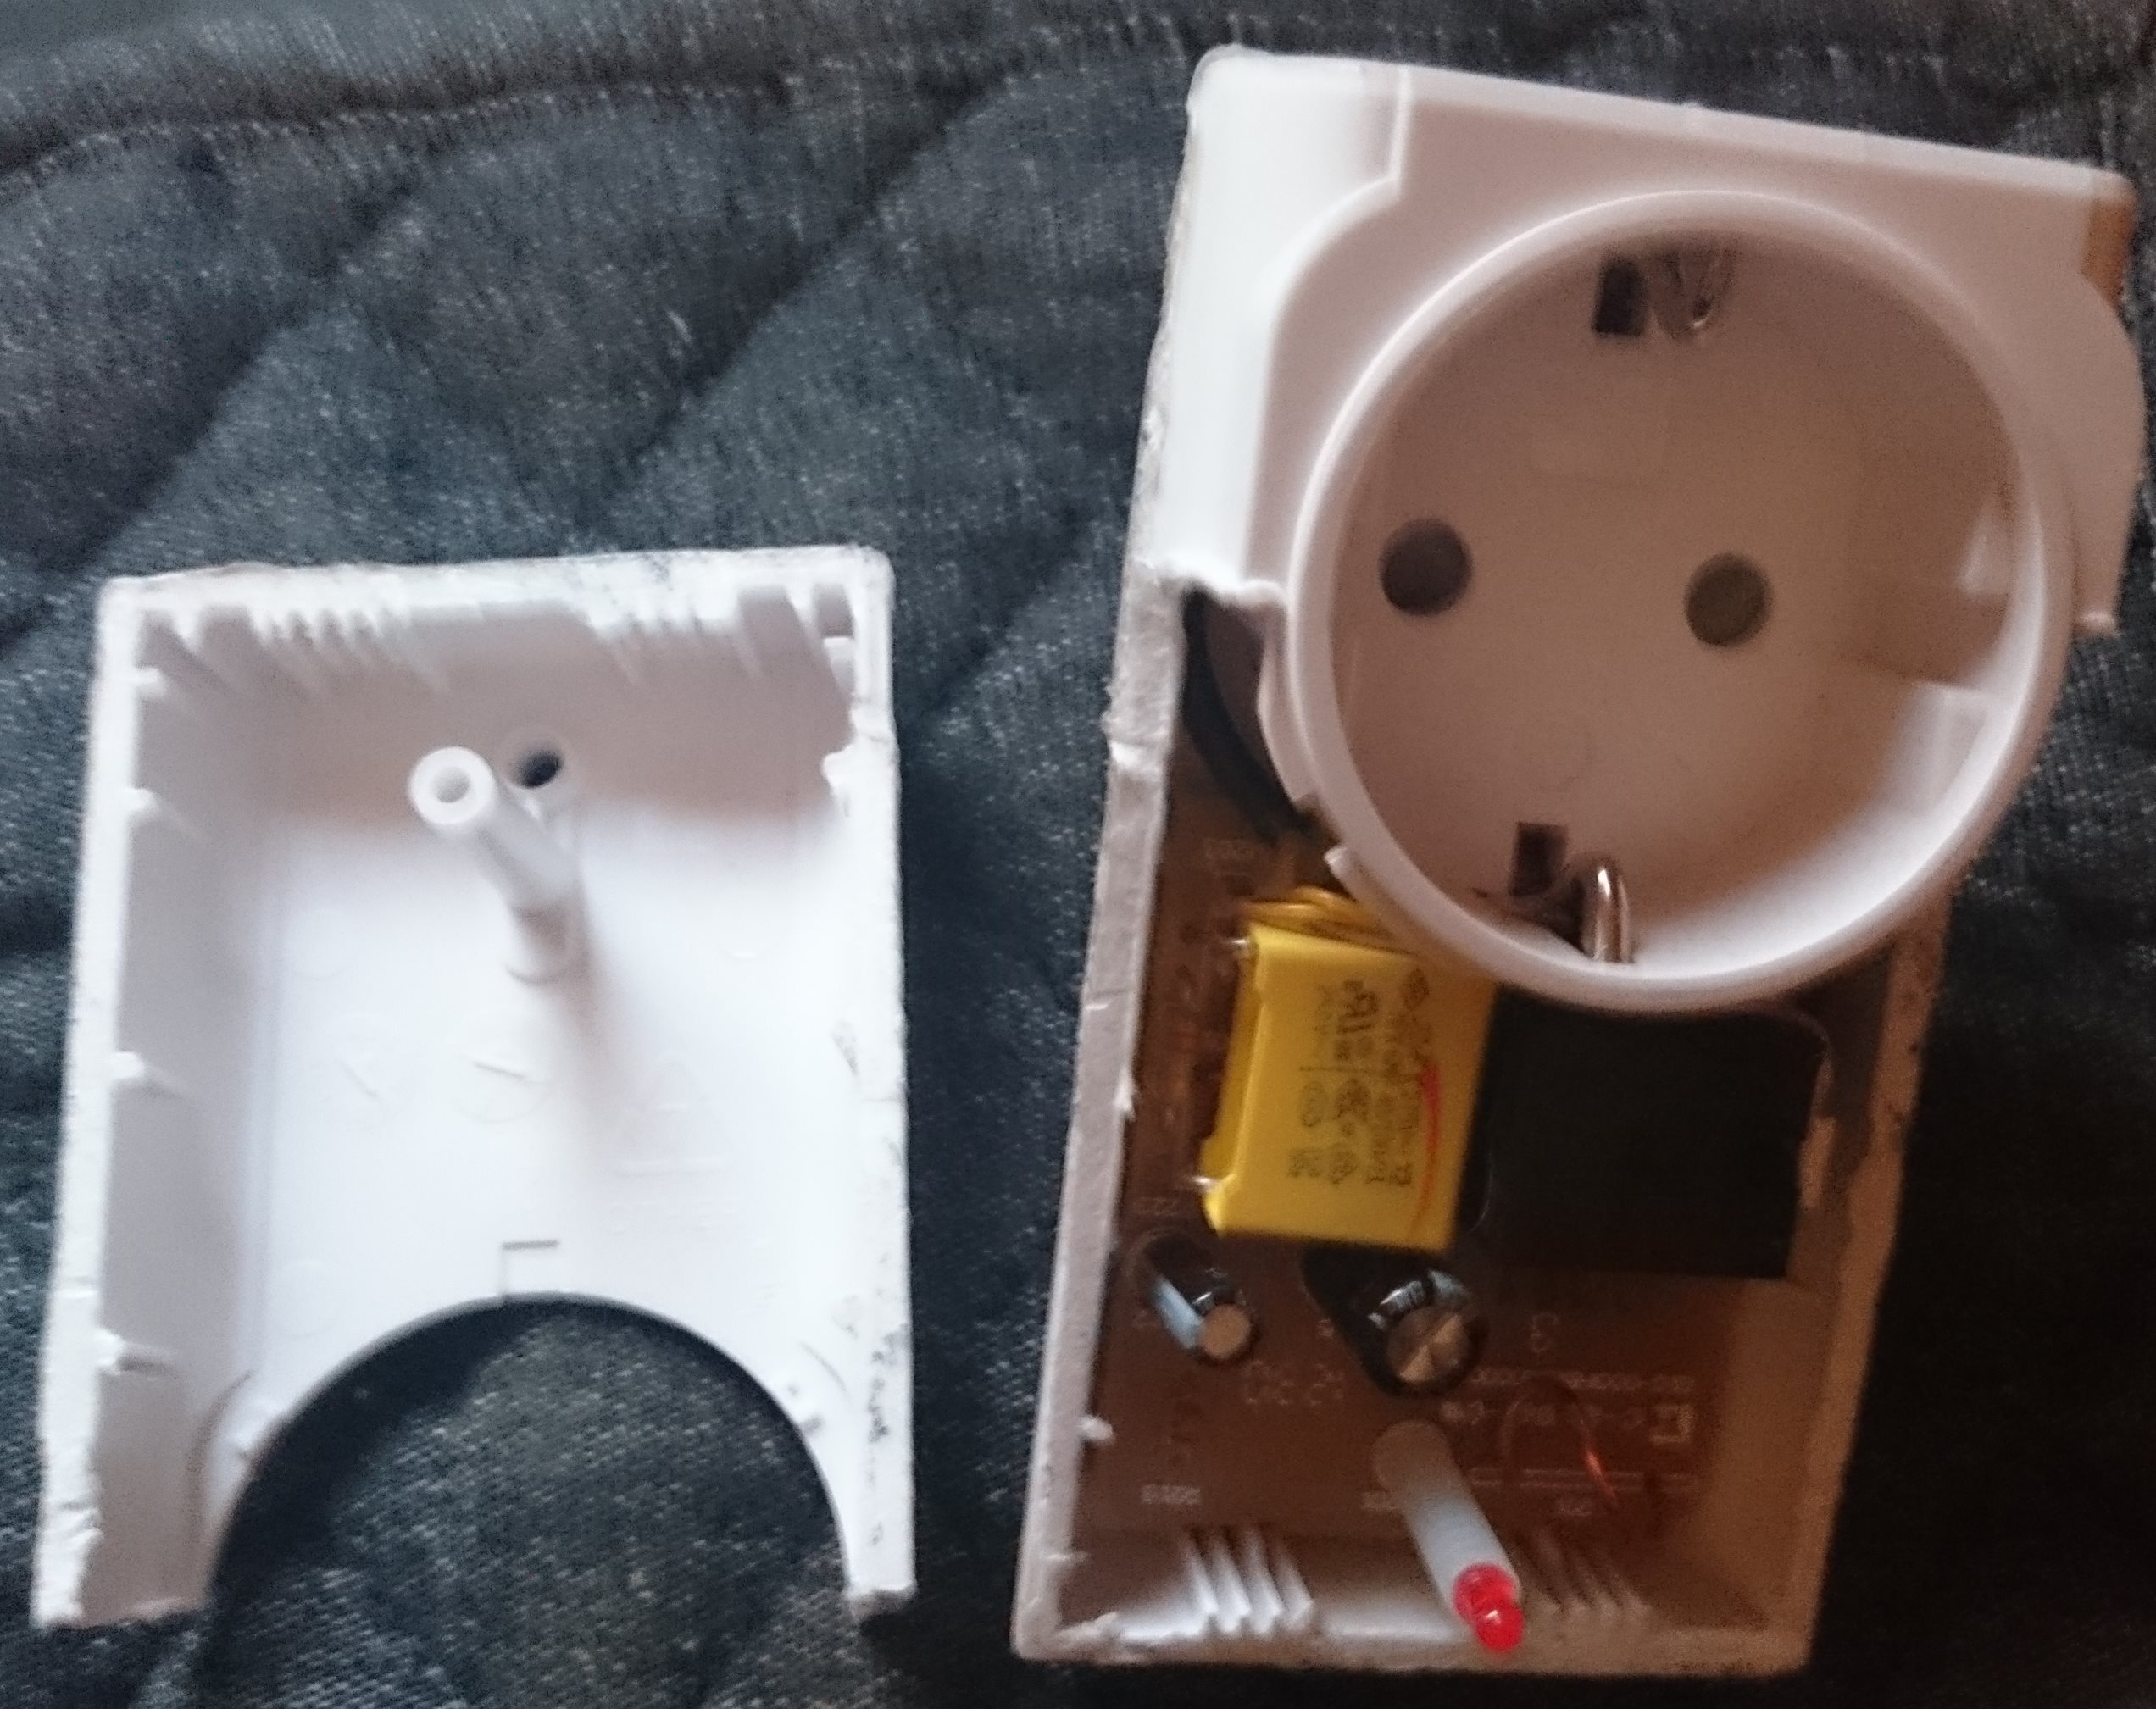
Inside immediately visible relay and three caps: a yellow .22uF 275V, 100uF 50V electrolytic, 10uF 50v electrolytic. Down to the right looks like antenna.
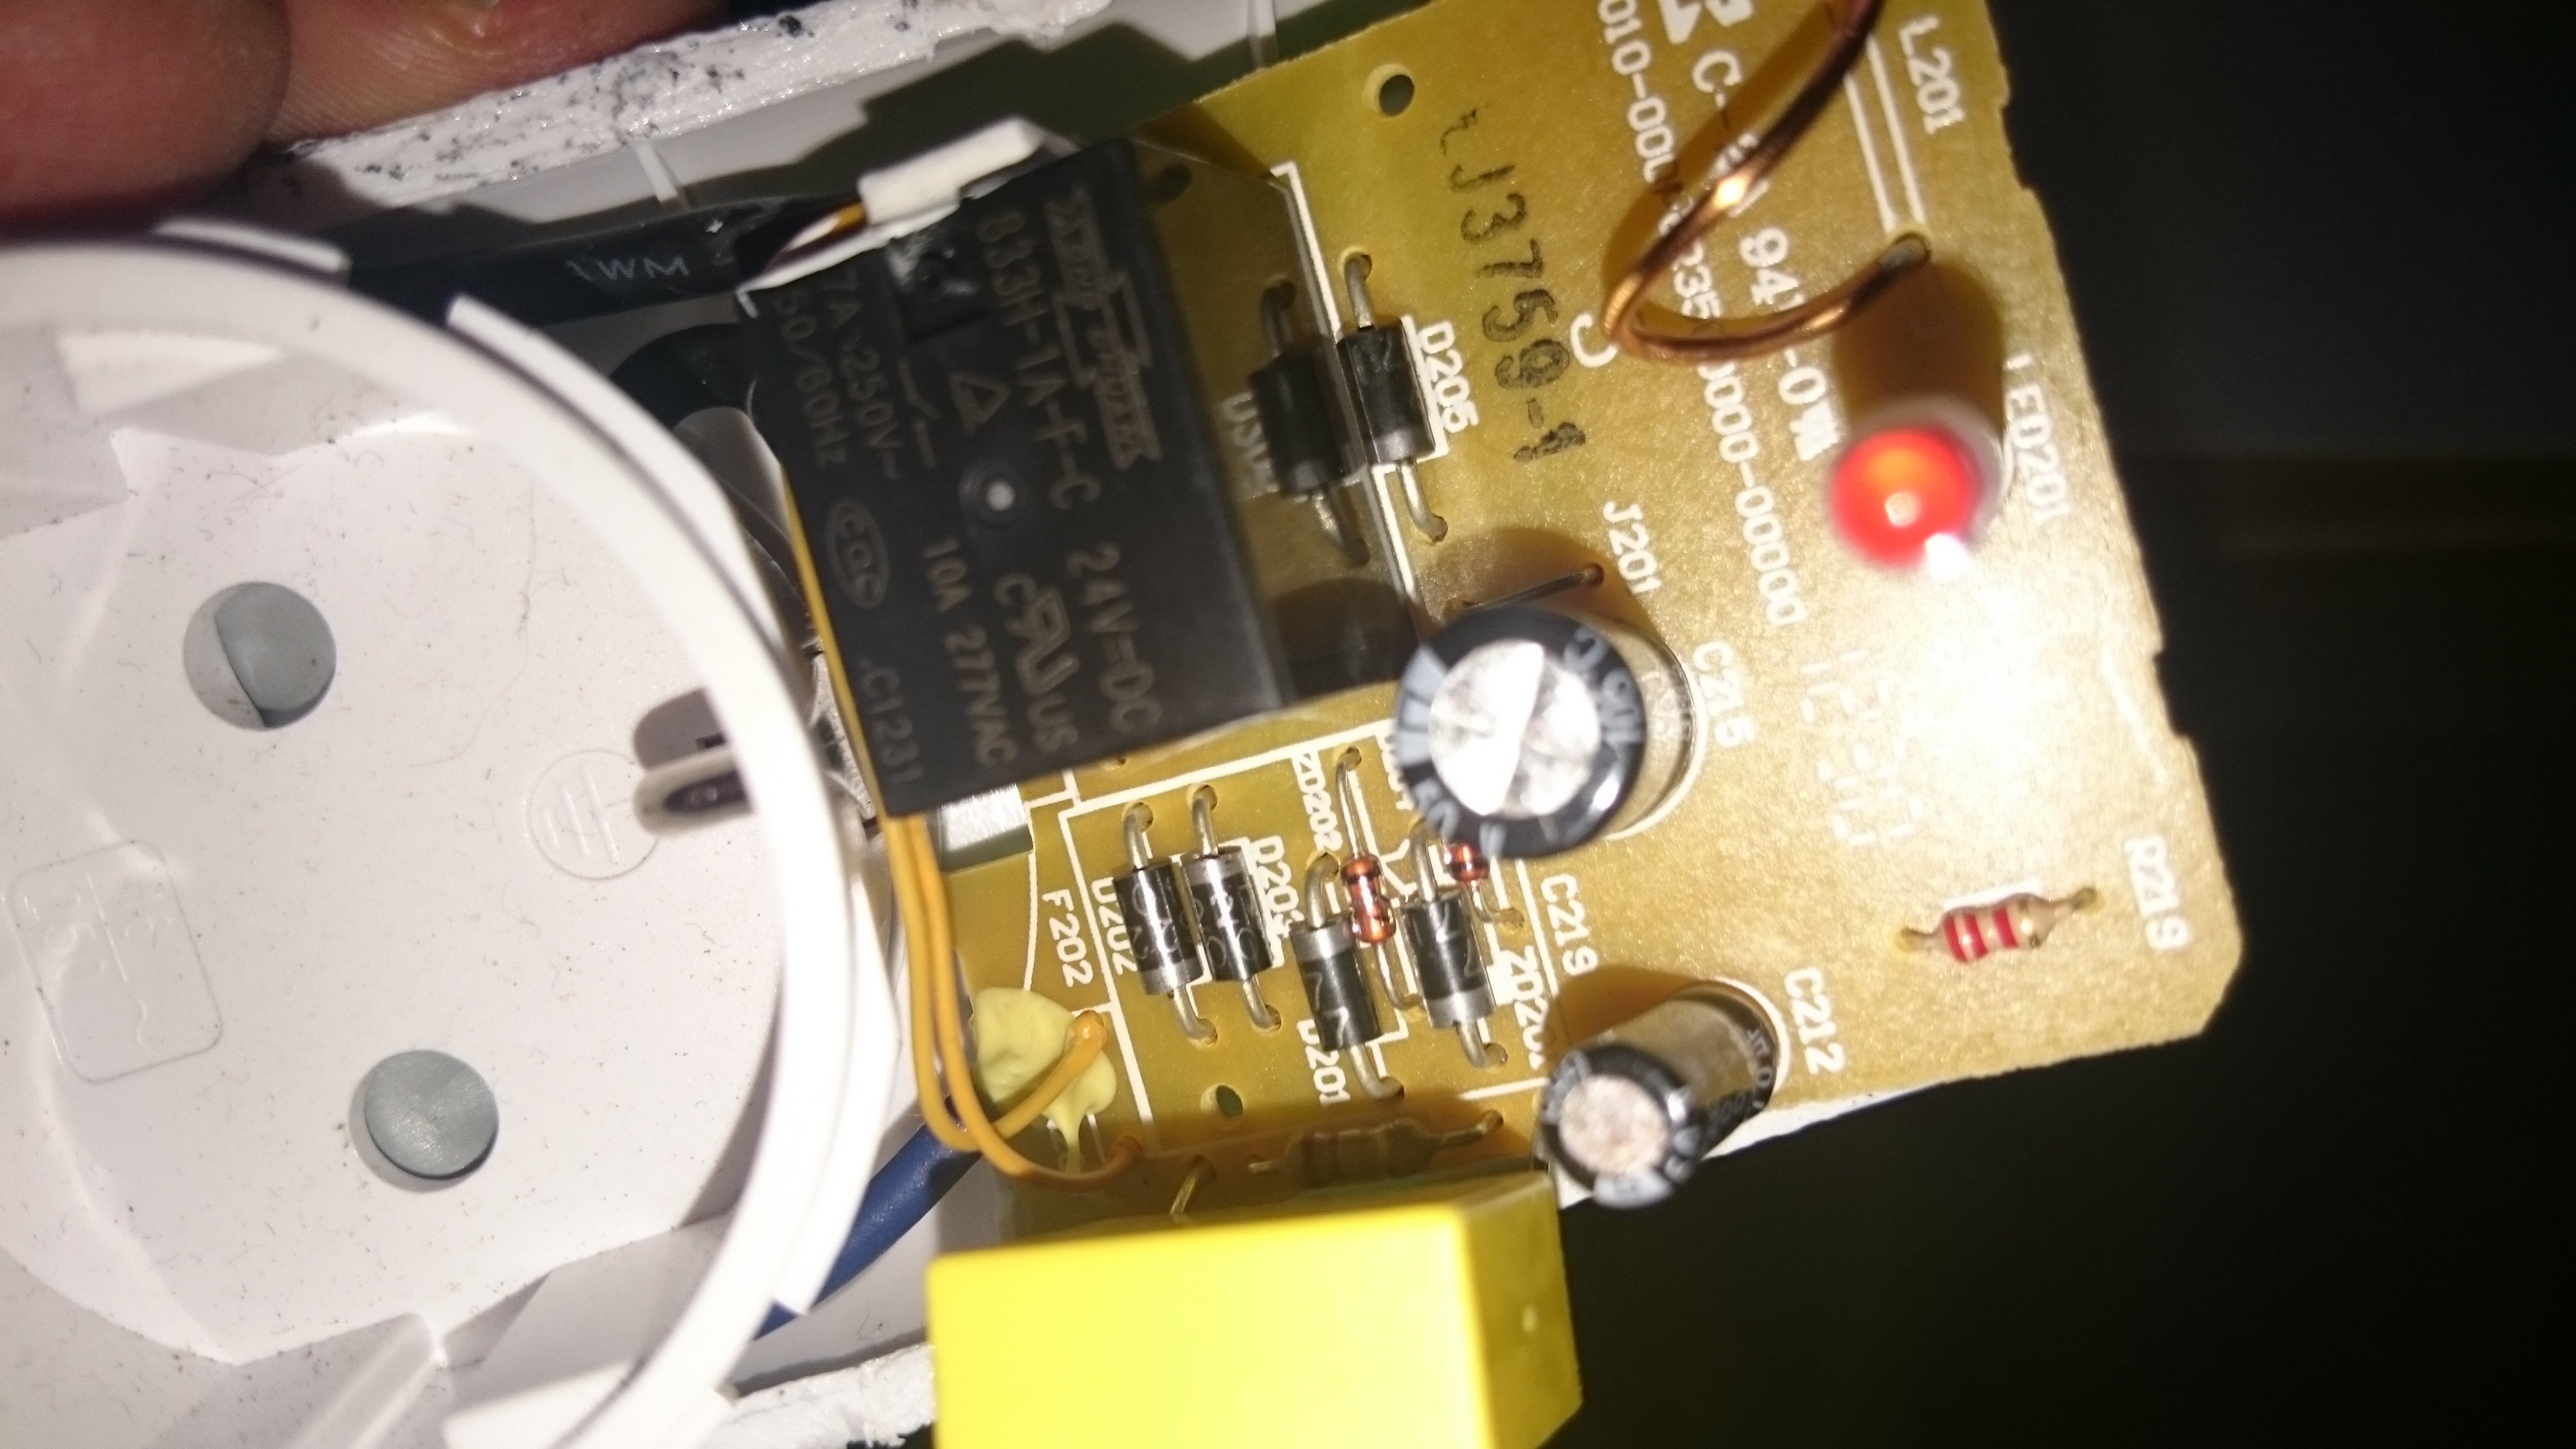
Under the plastic cap there is what looks very much like a bridge rectifier and a transformerless power supply. There are 2 zeners (ZD201 & ZD202), interesting…
The other side of the board has to house the logic and 433.92 MHz RX.
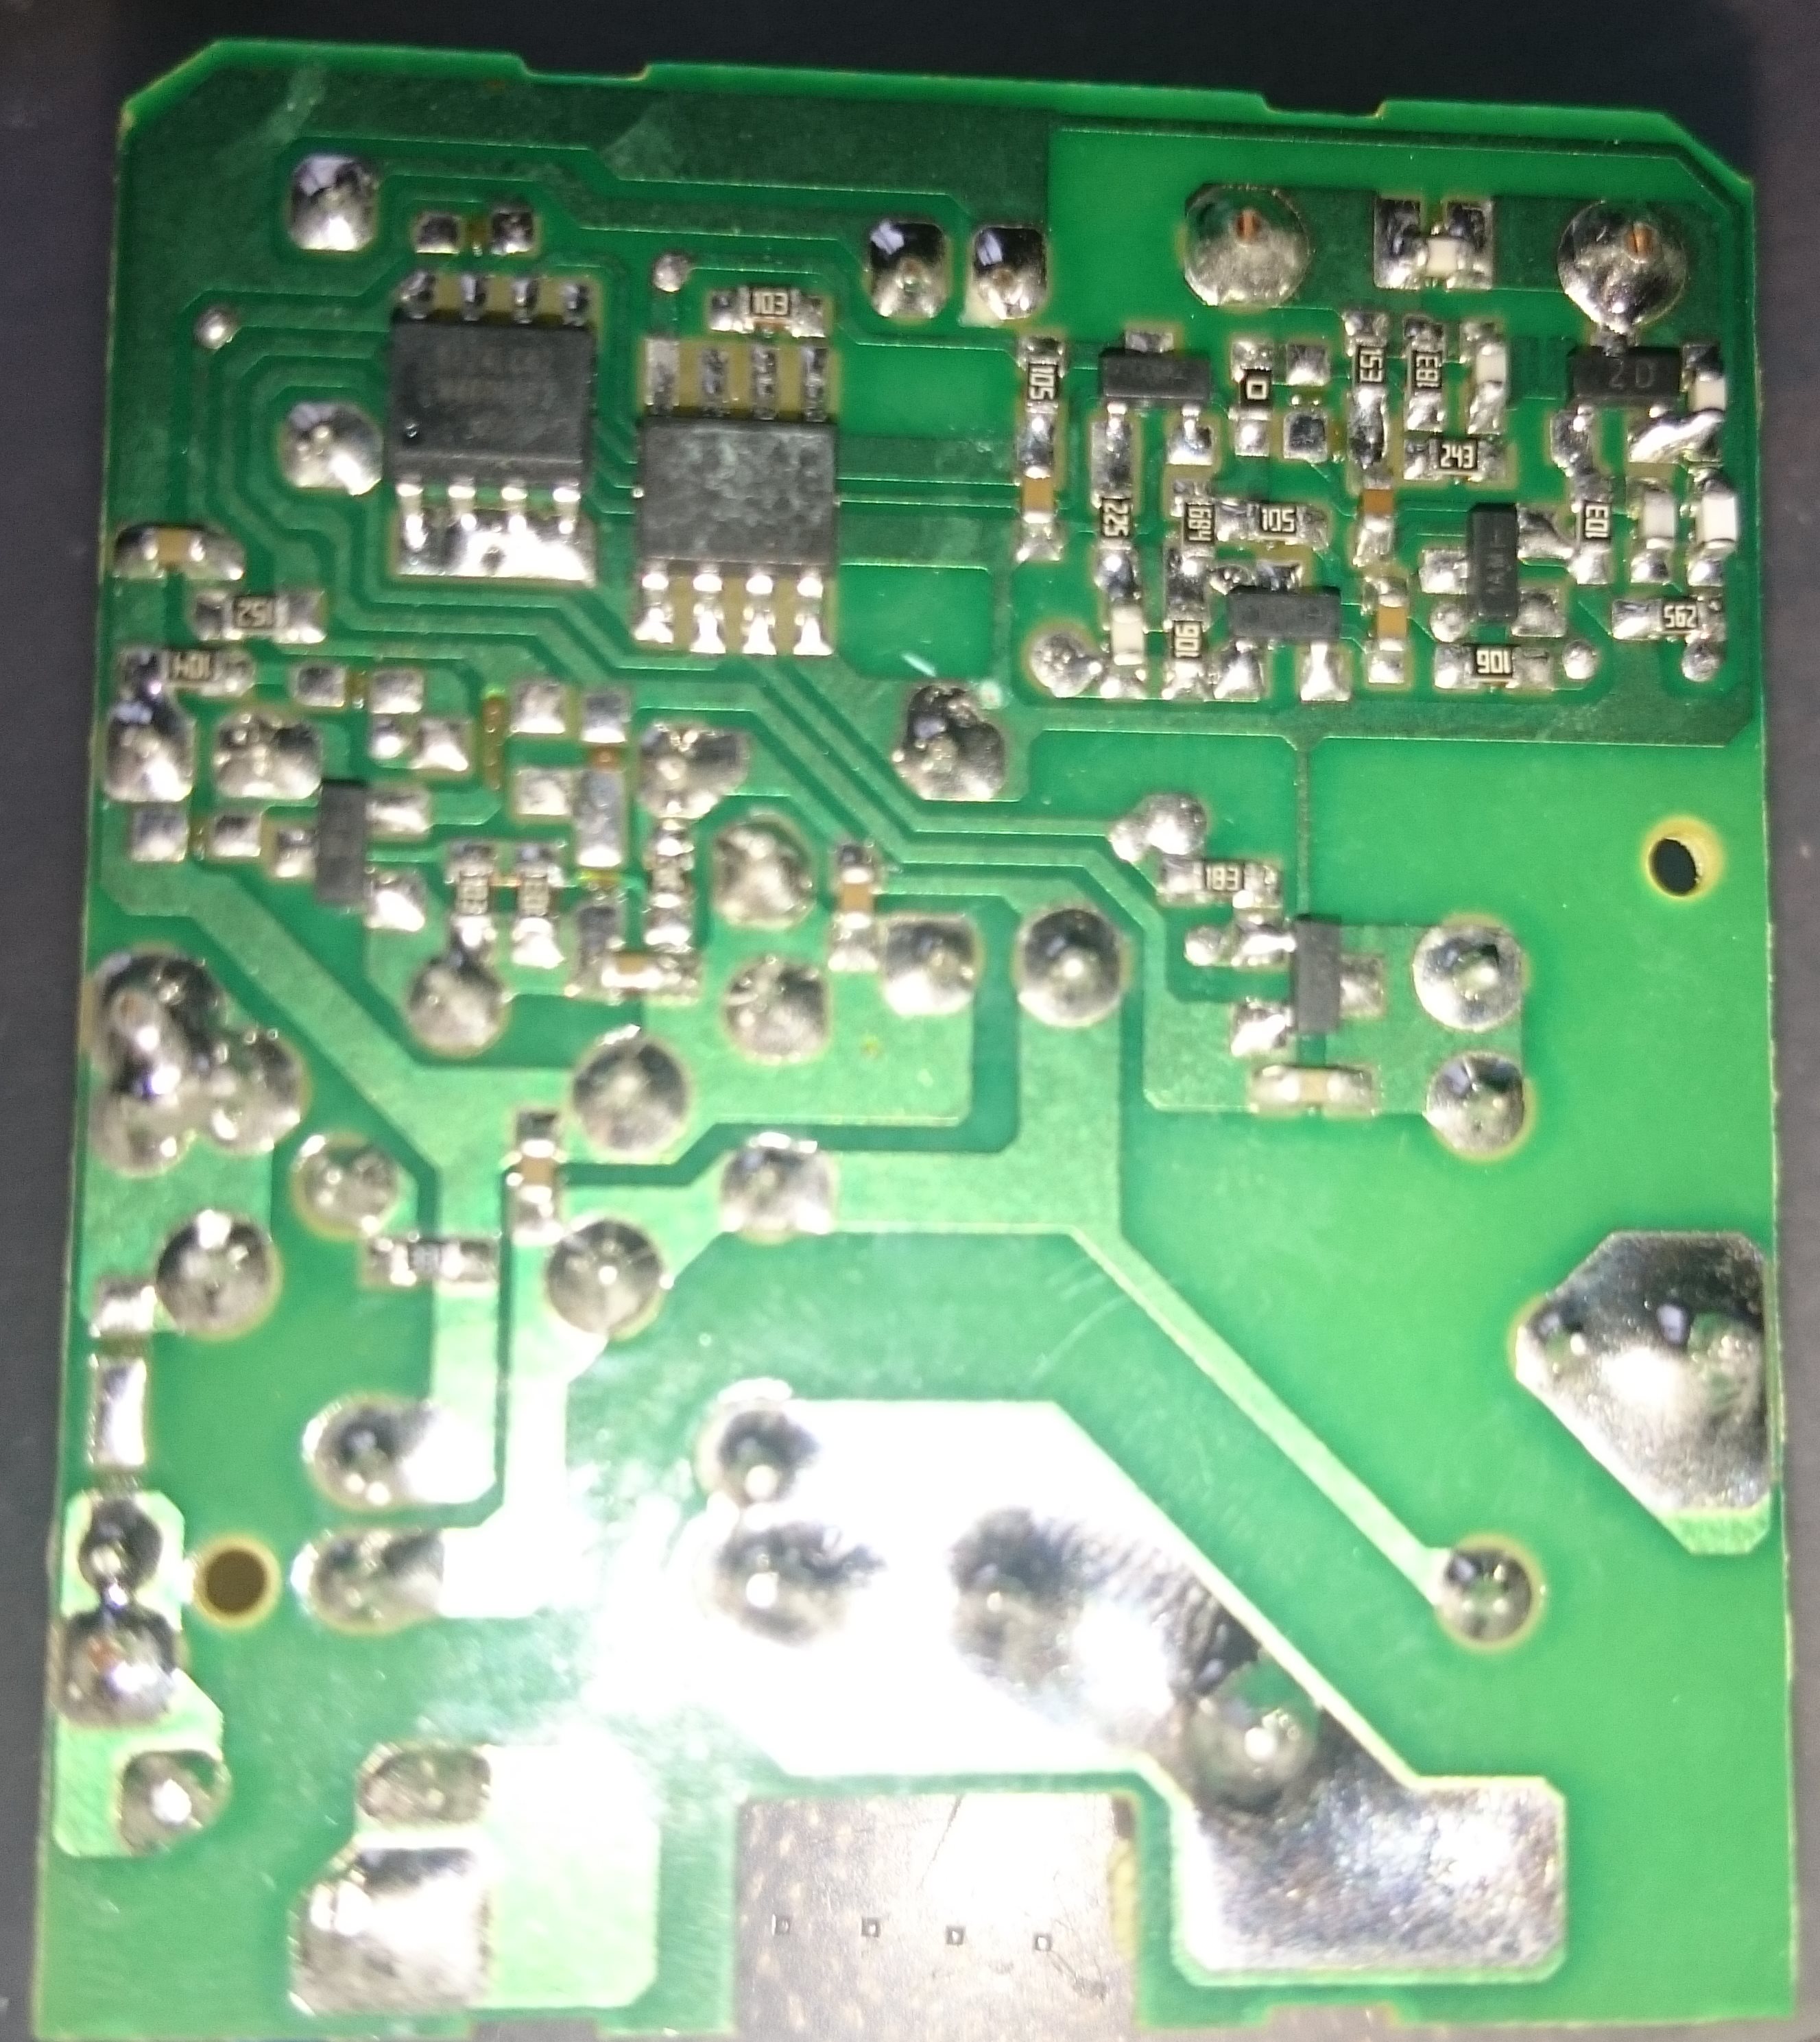
One of the chips seems to have no visible text, while the other one is clearly a serial EEPROM HT24LC02.
This does look quite interesting, will have to do some more poking another day 🙂
—
Update:
The relay is 24V, this has also been suggested as a good option for powering a relay an uC from a transformerless power supply that cannot provide much current (DESIGNER
CIRCUITS, LLC – DesignNote 001a)
Hey!
Did you manage to change the broken relay? I am also having the same issue, that the relay is not making any sound but the receiver seems to understand the remote.
Hi!
No I did not attempt that, but I cannot see any reason a similarily specced relay would not work.